Over time, the chain can become loose and slack, causing a loss of power, reduced fuel efficiency, potential damage to your bike’s components, and even safety hazards. So, maintaining a motorcycle chain regularly is crucial for safe and smooth riding.
The main aspect of chain maintenance is tightening, and it can be done with a few basic tools and techniques. And if you are here to learn how to tighten your motorcycle chain at home to time and money, then you have come to the right place.
Figure 0 How to tight any Motorcycle Chain
You may hear some noises just a few days after tightening the chain, but it doesn’t mean that it’s loosened up because it may be due to a bent chain cover or other misplaced component near the chain. So, it’s always best to look for these signs too;
Being vigilant and correcting these signs frequently by tightening your motorcycle chain can help ensure a safer and smoother riding experience.
When it comes to tightening the chain on your motorcycle, you’ll need some tools & accessories, which include;
| Purpose | |
| Wrench or Socket Set |
|
| Chain Alignment Tool |
|
| Measuring Tape or Calipers |
|
| Torque Wrench |
|
| Motorcycle Stand or Lift |
|
| Safety Gear (Advisable) |
|
| Chain Lubricant (Optional) |
|
Before beginning any bike’s chain maintenance, it is essential to prepare your work area properly. This means finding a flat surface for bike stability and ensuring enough space around the rear wheel to work comfortably. Your work area could be your garage, lawn, or public park.
Once you have found a suitable space, you should lay down some soft objects to kneel on to avoid discomfort. Next, gather all the necessary tools you will need to complete the task at hand and keep them within easy reach.
Now, you can follow the below 7-Steps process;
Placing your motorcycle on a stand is essential because it lifts the bike from the ground, makes the rear tire free to turn by hand, and gives more area for easy checking & adjusting chain tension.
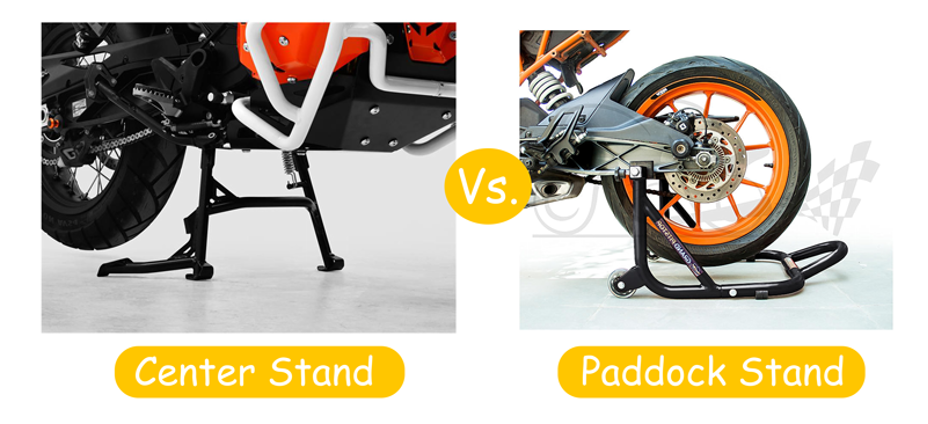
You must make sure that the motorcycle is properly stable on flat ground and will not fall over while you are working under it. You can use one of the following;
Every motorcycle has a recommended chain tension specified by the manufacturer, which you can find in the bike owner’s manual or chain cover.
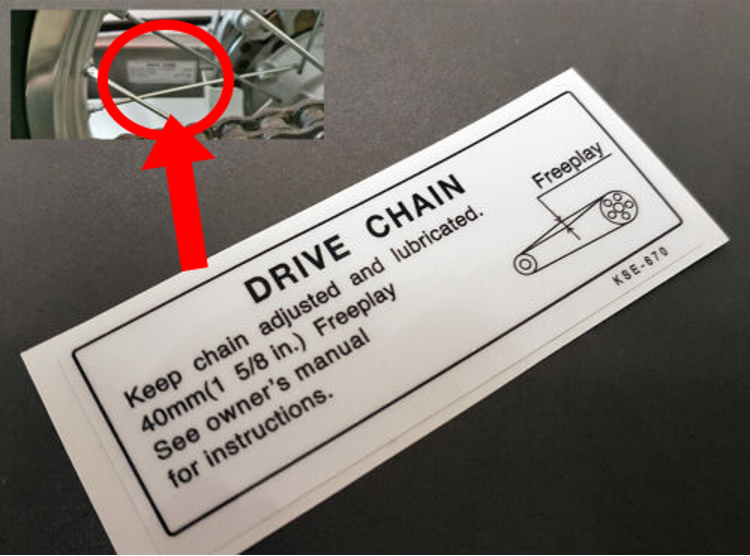
The chain’s tension is determined by its slack, and most bikes require 1 to 2 inches of slack.
Once you know the recommended chain slack for your motorcycle from the owner’s manual book/chain cover, the next step is to check your chain’s current tension/slack. This can be done using chain tensioning tools, a measuring tape, or a ruler.
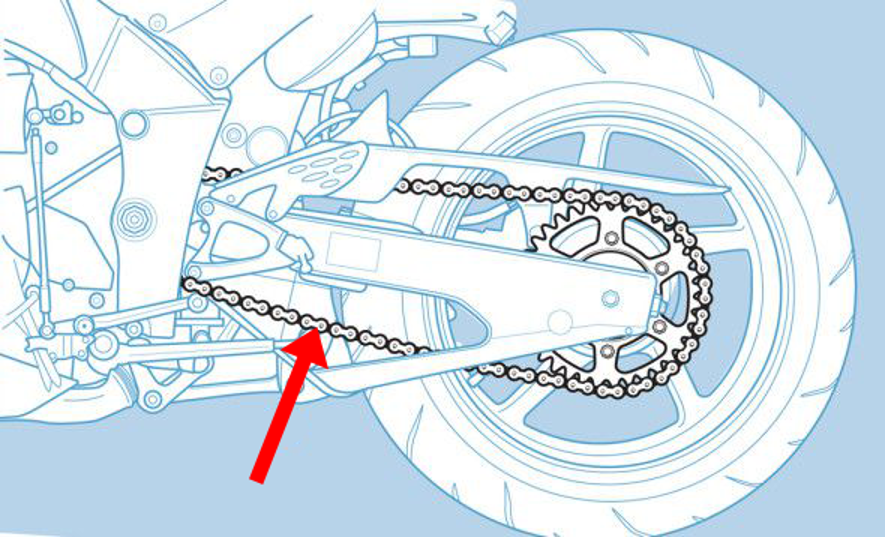
Now, in order to practically tighten the chain;
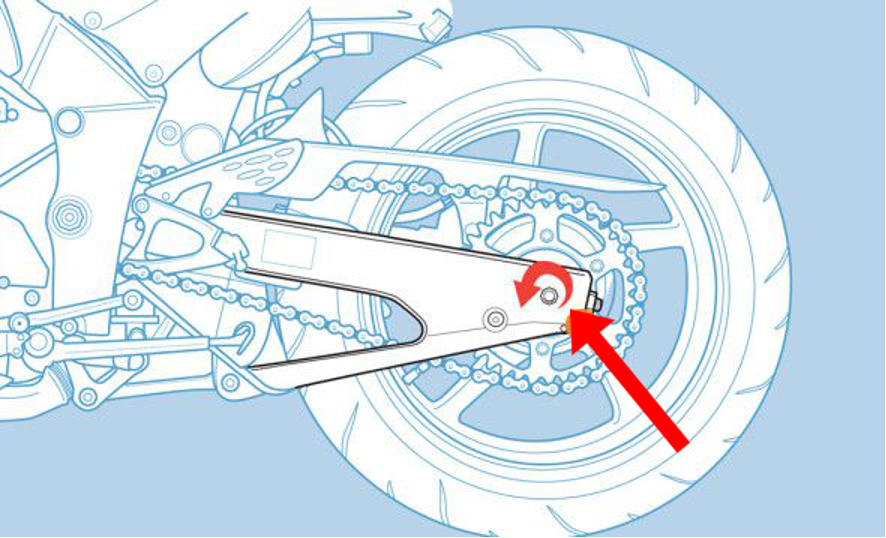
After you’ve adjusted the chain tension, tighten the rear axle nut using a socket wrench.
It’s essential to tighten it to the torque specifications provided by the manufacturer, which can be found in the owner’s manual or through a quick Google search. This will ensure the nut is tightened to the appropriate level and doesn’t cause any issues.
A well-lubricated chain is essential to prevent rust, decrease wear, and ensure smooth riding. And for that;
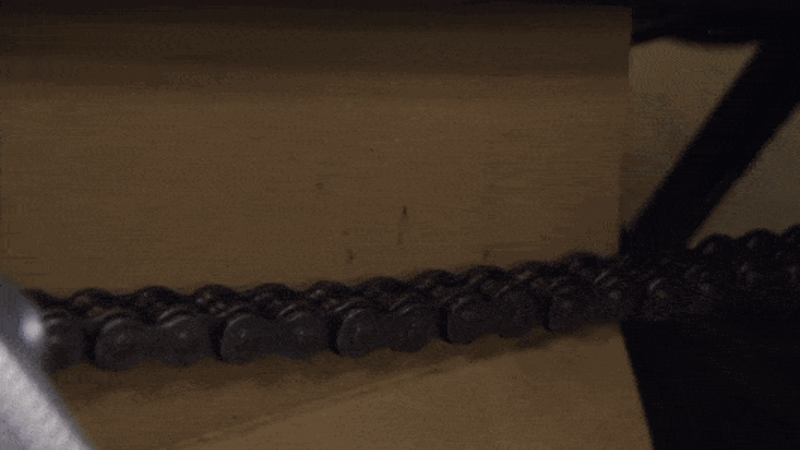
Finally, wipe off the excess lubricant from the chain cover and other parts, especially plastic ones, because lubricant will collect dust and damage the color.
Once you’ve followed all the steps above, it’s important to double-check everything. Then, take your motorcycle for a spin to ensure everything feels ok and the chain is tensioned correctly.
Remember, a well-tensioned chain will not only prolong the life of your chain & sprockets but also ensure a smooth ride. So, take the time to check and adjust your motorcycle chain regularly.
The recommended chain slack or tension can vary depending on the motorcycle, but it is generally around 30-40mm of vertical movement when pushing up and down on the chain.
Make small adjustments to the chain tension by turning the adjuster bolts or nuts evenly on both sides of the swingarm. Refer to your owner’s manual for the specific procedure and recommended tension adjustment increments.
Join our mailing list to be the first one to know more new parts release and marketing info. Stay informed!


We will contact you within 1 working day, please pay attention to the email “wholesale@mpm-motorsports.com”
Comments