As a bike owner, you already know that a chain is responsible for secure power transmission and smooth rides. But, over time, chains wear out, which results in noises at first, then a decrease in power, and eventually degradation to the point that it breaks and may cause a life-threatening accident. So, replacing the chain on time is very crucial.
Fortunately, changing a motorcycle chain is easy, and you can do it at home; it’s a simple procedure with the right tools and knowledge. In this blog, we’ll take you through the steps of changing your motorcycle chain and share some tips & tricks to make the process easy and hassle-free. So, let’s get started!
1) Why Chain and Sprockets wear out?
For some people, their bike chains wear out faster than others. And if you are wondering what factors cause a chain to be damaged faster in the first place and how to avoid them, then look below;
- Improper lubrication causes fast wear.
- Road elements like dirt, dust, and water damage the upper coatings, which results in quick corrosion of the metal surface beneath.
- Chains and sprockets stretch and compress when the throttle is opened and closed, causing additional wear and tear.

If you want your chain to give more life, keep it neat and never let dirt or water on it after every ride. Plus, do the chain lubrication after every wash or once a week. And last but not least, keep your chain always tight.
3) How to Change Motorcycle Chain in 5 Easy Steps?
While every bike can have some differences, the fundamental sequence of steps for changing the chain remains the same. By following the below 5-step guide, you can change any
motorbike chain;
- i) Gather Necessary Stuff
- ii) Put the Bike on a Stand
iii) Remove the Old Chain
- iv) Replace Sprockets
- vi) Replace the new sprockets and reinstall the rear wheel
vii) Install the new chain
i) Gather Necessary Stuff
In order to change your motorcycle chain properly, you will need the following tools:
- A block of wood to stop the rear wheel or bike from moving.
- A chain breaker bar or a grinder with a cutting wheel to remove the old chain.
- Pliers and screwdrivers for removing and installing the master link or rivet link.
- Socket wrench set with sockets that fit the nuts and bolts on your motorcycle’s rear wheel and swingarm.
- Replacement chain that matches your motorcycle’s specifications in length and pitch.
- Replacement master link or rivet link, depending on the type of chain you have.
- Last but not least, you should also get the right torque data for all nuts & bolts from your bike manual to avoid under or over-tightening.
ii) Put the Bike on a Stand
Now, find a flat surface and place the bike on a stand on this surface so it remains stable and doesn’t fall over you during work. Ensure that this surface has enough space around it so you can move around freely and don’t accidentally hit anything & hurt your body.
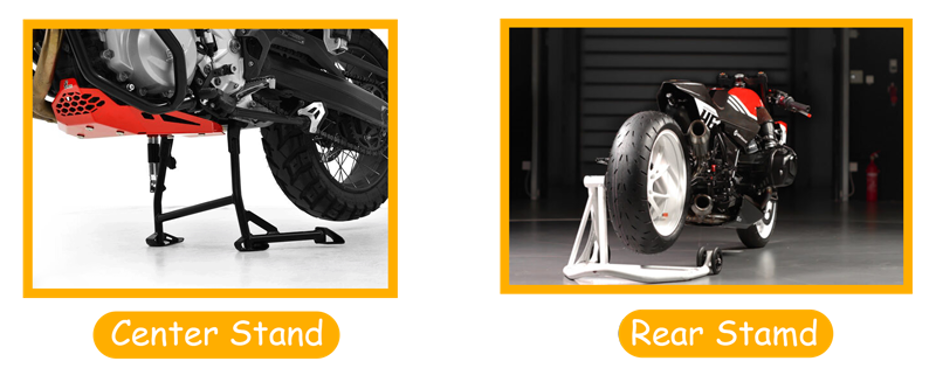
You can use either the center stand of your bike or a rear Paddock stand for more safety. As you will be working for hours, make sure your working environment is ideal, like a shady place in summer and a sunny spot in winter. And lastly, the light must be sufficient.
iii) Remove the Old Chain
Removing the old chain may seem complicated, but it’s an easy task, and you can do it in the following steps;
Step no 1) First of all, remove the transmission cover.
Step no 2) Place a block of wood into the wheel or ask a friend to put their foot on the brake to prevent the wheel from turning.
Step no 3) Finally, by using a breaker bar, loosen the front countershaft sprocket bolt but be careful not to remove it completely. You can also use an impact drill to remove the bolt; in that case, there is no need to hold the rear brake.
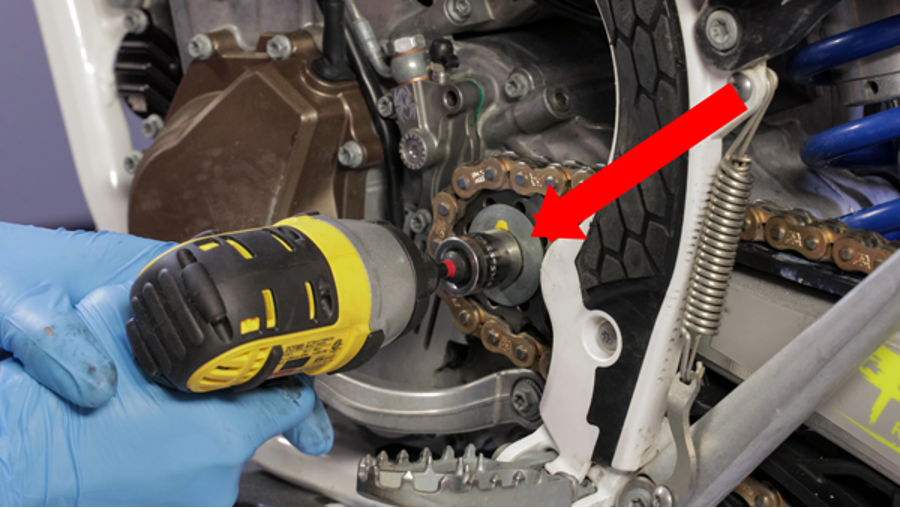 Step no 4) Now, relax the rear axle nut & chain adjusting bolts to lessen the chain tension.
Step no 5) Grab a chain breaker rule, put it on the chain, and center the tool over any link pin. Now, turn the breaker tool handle until the pin is pushed out of the chain.
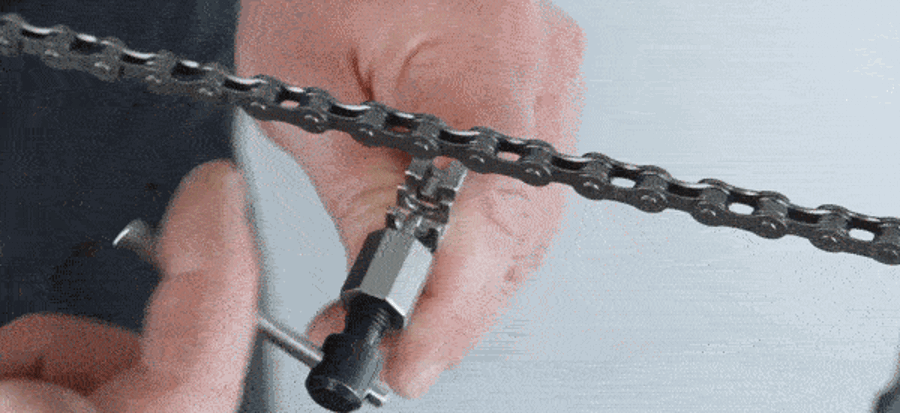 Step no 6) Finally, the chain is broken, and you can push it out of the bike.
iv) Replace Sprockets
Now, it is time to remove the old
sprockets and put in new ones, which you can do in the following steps;
Step no 1) In order to remove the rear sprocket easily, we will need to separate the back tire from the bike and, to do that, remove the axle nut using a long socket wrench. Once the nut is gone, you can remove the axle and slide the wheel out.
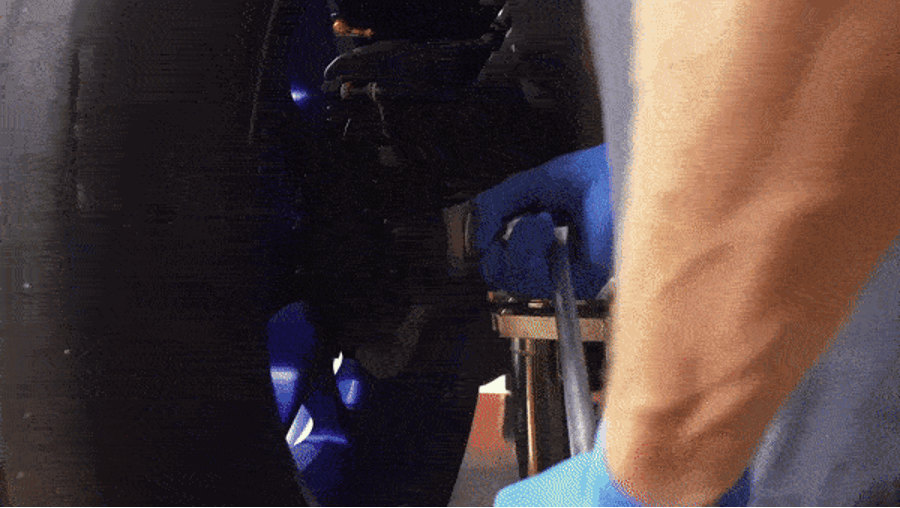 Step no 2) Next, to remove the rear sprocket, you will need a wrench to loosen and remove the retaining nuts from the sprocket. Once the retaining nuts are off, the sprocket can easily be pulled off from the wheel hub. It’s essential to be cautious while doing this to avoid any damage to the wheel hub.
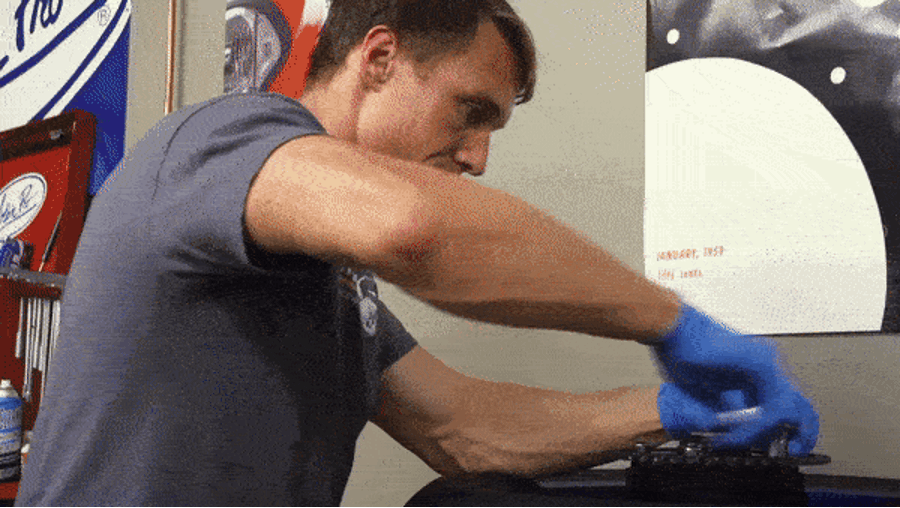
Step no 3) Install the new sprocket on the rear wheel, and tighten the retaining nuts. Then, put the rear wheel in, slide the axle ( use a mallet if required ), and then tighten the axle nut. Ensure that the axle nut is a bit loose for adjusting the chain later.
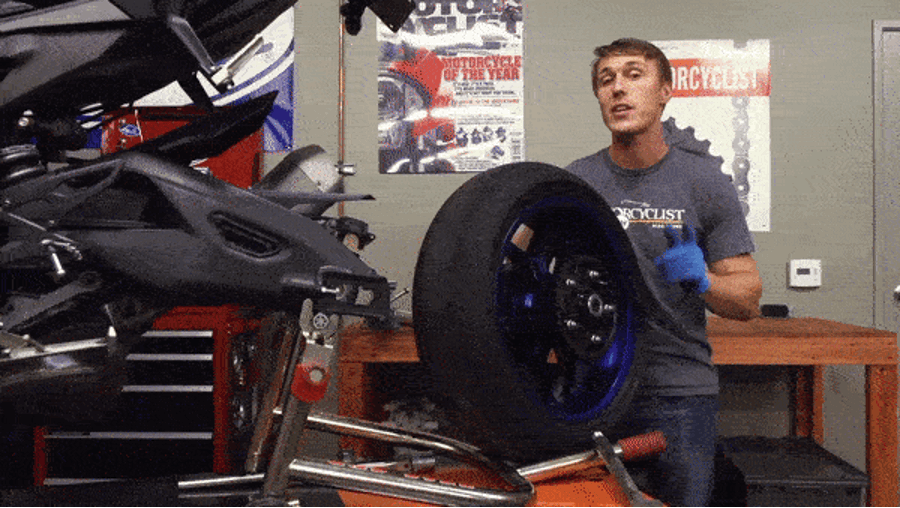 Step no 4) Finally, remove the front sprocket and put a brand new one in its place.
Make sure to tighten all the nuts and bolts to the manufacturer’s recommended torque specifications. Double-check that the wheel is securely fastened and aligned properly.
v) Install the New chain
Finally, its time to install a new shiny chain on your bike, and for that;
Step no 1) Grab a chain with the same number of links & lengths as your old chain. Put this new chain on the bike.
Step no 2) Find a clean spot, open the Masterlink package, and grease it. Then pass the Masterlink pins through the two joining holes of the chain. Then using a riveting tool, rivet the master link. Don’t use any home method to rivet the link because it will not last long and may result in chain breakage & severe accident.
Step no 3) If your Masterlink is clip-type, then there is no need for a riveting tool ( but this type of linking is insecure. )
Step no 4) After the chain installation, ensure the chain is centered correctly on the sprocket. Then, adjust the chain tension recommended by the manufacturer and tighten the adjective bolts & axle nut.
Step no 5) Finally, apply lubrication to the chain, and you are ready! You can take your bike on any adventure.  If you want your chain to give more life, keep it neat and never let dirt or water on it after every ride. Plus, do the chain lubrication after every wash or once a week. And last but not least, keep your chain always tight.
 You can use either the center stand of your bike or a rear Paddock stand for more safety. As you will be working for hours, make sure your working environment is ideal, like a shady place in summer and a sunny spot in winter. And lastly, the light must be sufficient.
 Step no 4) Now, relax the rear axle nut & chain adjusting bolts to lessen the chain tension.
Step no 5) Grab a chain breaker rule, put it on the chain, and center the tool over any link pin. Now, turn the breaker tool handle until the pin is pushed out of the chain.
 Step no 6) Finally, the chain is broken, and you can push it out of the bike.
 Step no 2) Next, to remove the rear sprocket, you will need a wrench to loosen and remove the retaining nuts from the sprocket. Once the retaining nuts are off, the sprocket can easily be pulled off from the wheel hub. It’s essential to be cautious while doing this to avoid any damage to the wheel hub.

 Step no 4) Finally, remove the front sprocket and put a brand new one in its place.
Make sure to tighten all the nuts and bolts to the manufacturer’s recommended torque specifications. Double-check that the wheel is securely fastened and aligned properly.


Comments