Motorcycle chain maintenance is essential for preserving a smooth & safe ride and ensuring its longevity and peak performance. Over time, dirt, grime, and debris can stick to the chain, causing excess wear and tear on your bike. This can ultimately lead to reduced performance and even hazardous situations on the road.
Regularly cleaning and maintaining your motorcycle chain is a relatively simple yet critical task that requires a few essential tools and supplies. In this blog, we will explain how to clean motorcycle chains in simple steps to ensure a smooth ride every time, and you can use this step to clean all kinds of chains, like x-rings, o-rings, and standard.
| Tools | Supplies |
|
● Lubricants ● Cleaning brush ● A Rag or microfiber towels ● A rear stand or paddock stand (optional)
|
● Water ● Protective gloves ● Bucket or spray bottle ● Chain Cleaner or Degreaser |
Here’s a step-by-step guide to help you clean your motorcycle chain:
Before getting started, gathering all the necessary tools, materials, and supplies is essential so you can have everything at hand distance when you are cleaning and not running around in the house or to the nearby shop, which will waste your time.
Find a level surface to clean your sealed motorcycle chain and put your bike on a center or rear wheel stand. It’s crucial to ensure the bike is stable and won’t tip over during a cleaning.
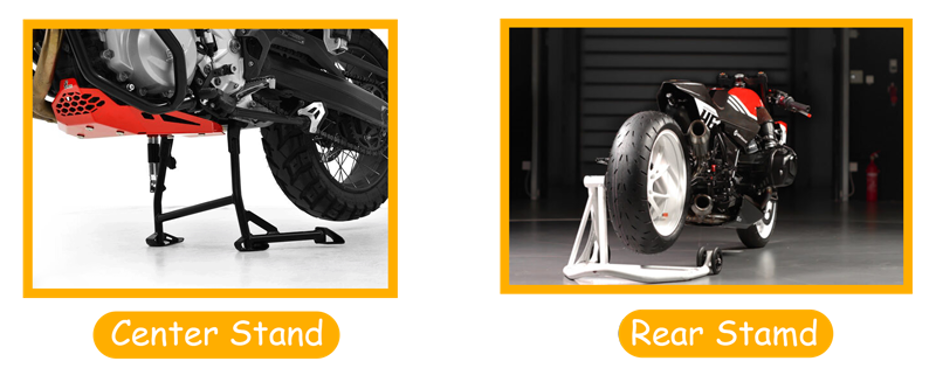
Over time, the mud & grease mix & harden up on the motorbike chain and become very hard to remove. So, it is critical to loosening up all the dust, debris, and grease from your motorbike chain beforehand with a degreaser for easy cleaning.
You will need a;
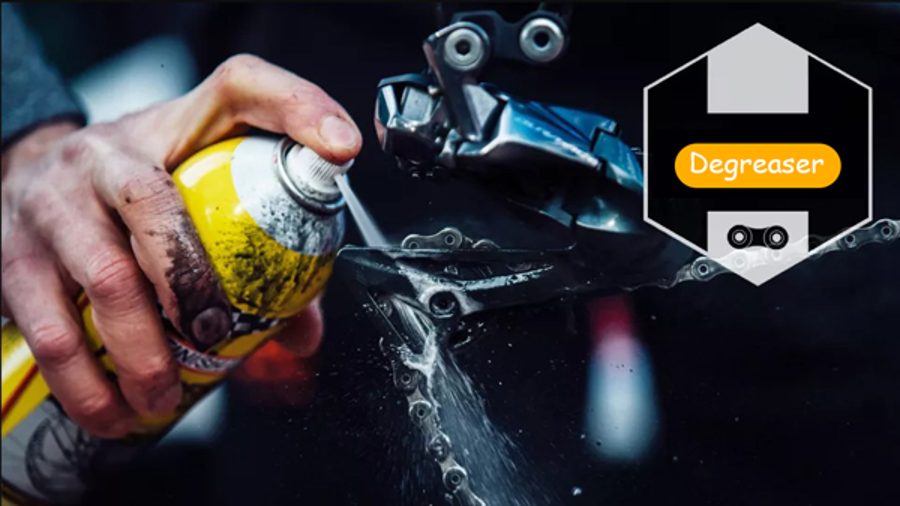
Figure 2 Use Degrease to lose up the debris on Motorbike Chain
Start by placing the cardboard piece behind the chain so it covers the wheel and other parts of the bike. Now, generously spray the chain-cleaning solution onto the chain, ensuring it covers all the links and sprockets.
Next, slowly spin the wheel to ensure the entire chain is coated with the degreaser. This will help loosen any grime or gunk sticking to the chain. Allow the cleaner to soak in for a few minutes, giving it enough time to work its magic on the chain.
You will need a specialized chain cleaning brush. A 3-sided bristle brush or even an old toothbrush will do the trick.
Use this brush to thoroughly scrub for 10 ~ 30 minutes to ensure you clean all parts of your chain, sprockets, and rollers.
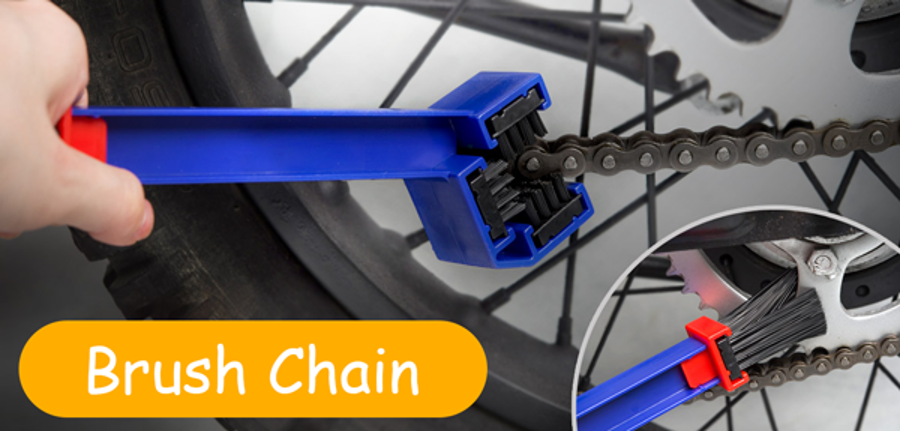 Figure 3 Brush your Motorcycle Chain completely
This step is crucial in removing any buildup of mud and debris that may have stockpiled over time, which can cause significant wear and tear on your motorcycle’s chain. Use firm but gentle pressure to avoid damaging your chain or sprockets.
Once you’ve finished brushing your motorcycle chain, the next step is to use an old cloth to wipe down the entire chain and sprockets thoroughly. This will help remove any remaining dirt or debris and give you a clearer view of the chain’s condition.
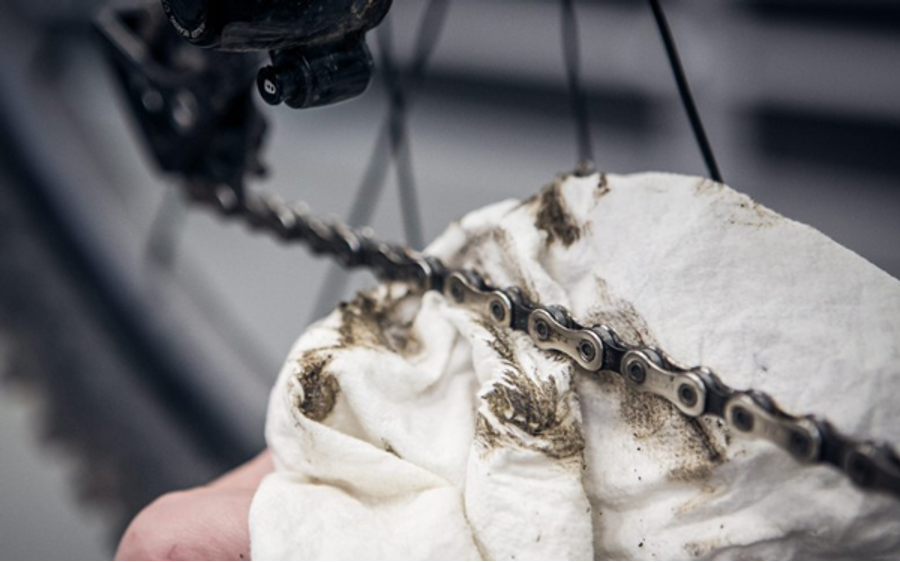 Figure 4 Wipe the Debris with some cloth
If you encounter old, hard grime that won’t come loose with the cleaning spray, don’t worry! You can use a knife or screwdriver to scrape the stubborn dirt easily.
You can use either a hose or a bucket of water to rinse the cleaning solution from the o-ring chain. Of course, a wet rag/towel from a bucket can wipe off excess solution, but it may not suffice.
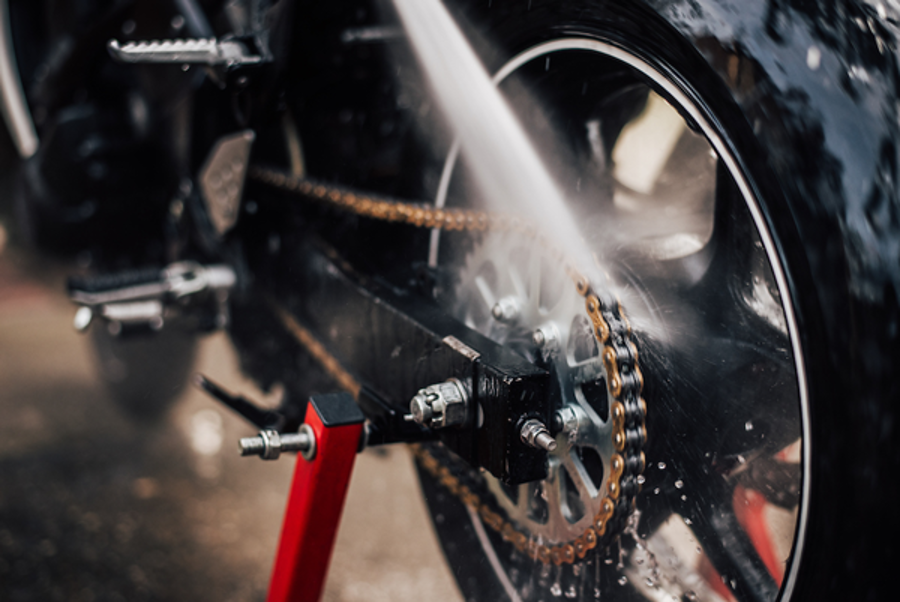 Figure 5 Rinse Chain with Pressured Water Hose
It is better to use a hose that provides sufficient water pressure to remove stubborn or hidden grime inside the chain.
Once rinsed, use a clean rag or towel to dry the chain, removing all water thoroughly. This step is very necessary because if you apply lubricant or grease immediately, it will not stay on the chain, causing the chain to rust and making the driving hard & uneasy.
Once you’re satisfied that your chain is entirely free of dirt and grease, apply a thin and even layer of motorcycle chain lubricant.
For this task, you can use a spray can or a bottle with a brush applicator. It is suggested to turn the rear wheel by hand so the chain will also turn, and you can keep spraying at just one point, which makes the whole process easy.
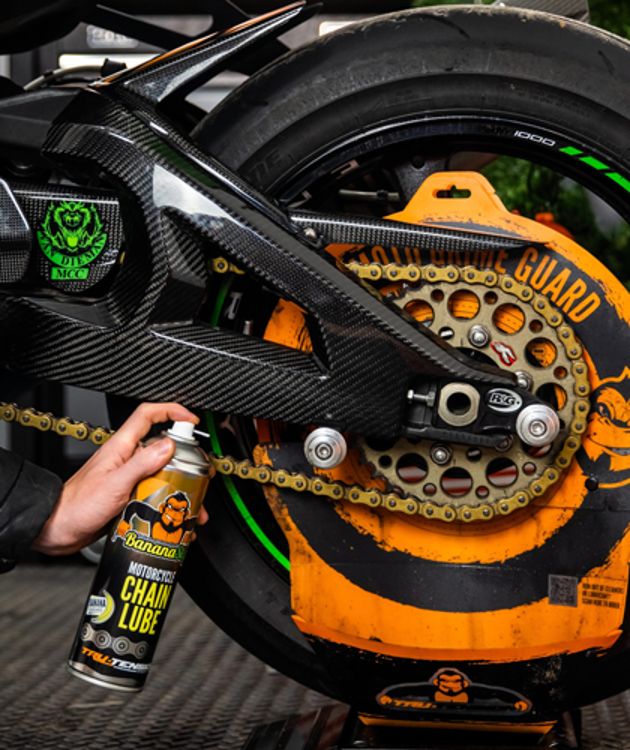 Figure 6 Lube the Chain to avoid rusting and smooth running
After lubricating the chain, check its tension. It should have some slack but not be too tight or too loose. Adjust as needed.
Last but not least, use a clean rag to remove excess motorcycle chain lube; this will prevent mud and debris from stockpiling on the chain.
And that’s it! You now have a beautifully clean and lubricated chain that will help extend its lifespan and keep your bike running smoothly.
Join our mailing list to be the first one to know more new parts release and marketing info. Stay informed!


We will contact you within 1 working day, please pay attention to the email “wholesale@mpm-motorsports.com”
Comments